
I've been sleeping in a sleep masking since I was 16 years old. I used to be a really light sleeper. Now, I sleep like a rock thanks to sleep masks (and ear plugs). The thing is though, I'm picky about my sleep masks. So many times, I don't like the material they're made out of or the elastic is too tight or too loose. Luckily, sleep masks are super easy to make. So I make my own to make them exactly how I want them. Make your own sleep mask and sleep well!
Materials: cotton fabric, dark colored fleece fleece, thread, 1/3 in elastic (thickness of elastic is a personal preference), ruler
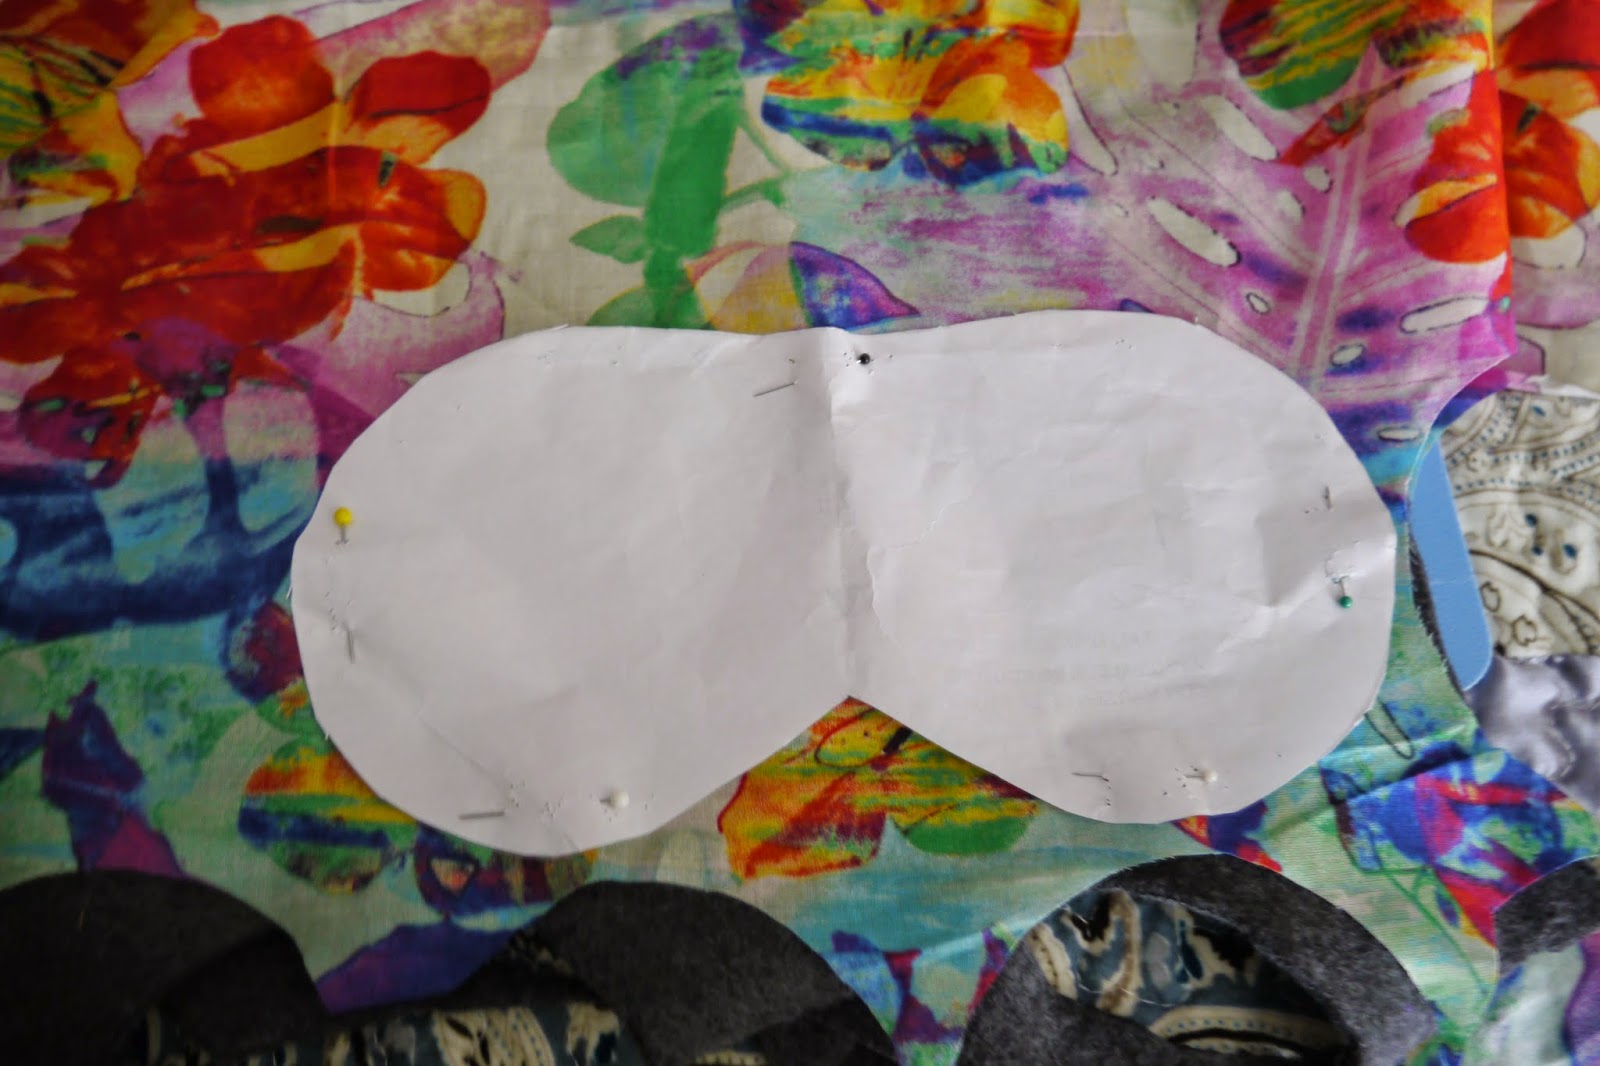
1. Print out this sleep mask template and cut it out. This template is designed to give you 1/4 in seam allowance.
Sleep Mask Pattern
2. Cut your fabric. Using the template, cut one of cotton and one of fleece. You can stack your cotton and fleece together and cut it all at once.
3. Cut your elastic. I used 12 in of elastic when making my sleep masks. Measure your head and decide if you need to make it larger or smaller. I feel like I have a pretty average size head.

4. Pin your elastic to the cotton fabric pattern side up. Pin your elastic to the location you want it on one side and the pin it in the same location on the other side. Gather all the extra elastic in the center so it does not get sewn later.
 |  |
5. Place your cotton with the elastic pinned to it pattern side up. Place the fleece on top of it softer side down. Pin these two layers in place.

6. Sew your sleep mask. Using a 1/4 in seam, sew the mask together. Leave yourself a 2"-3" opening at the top of the mask. Remove the pins.
 |  |
7. Pull your fabric through the hole. When you do this, the fleece should go in the center, and you should only see satin on the outside of the mask. Your elastic band should also now be on the outside.

8. Fold the fabric at the opening down to be even with the rest of the sleep mask. Pin the fabric down and the opening closed.

9. Run a seam around the edge of the sleep masking starting at the opening and going the rest of the way around the sleep mask. This will close the opening and give your sleep mask a finished look.
 | 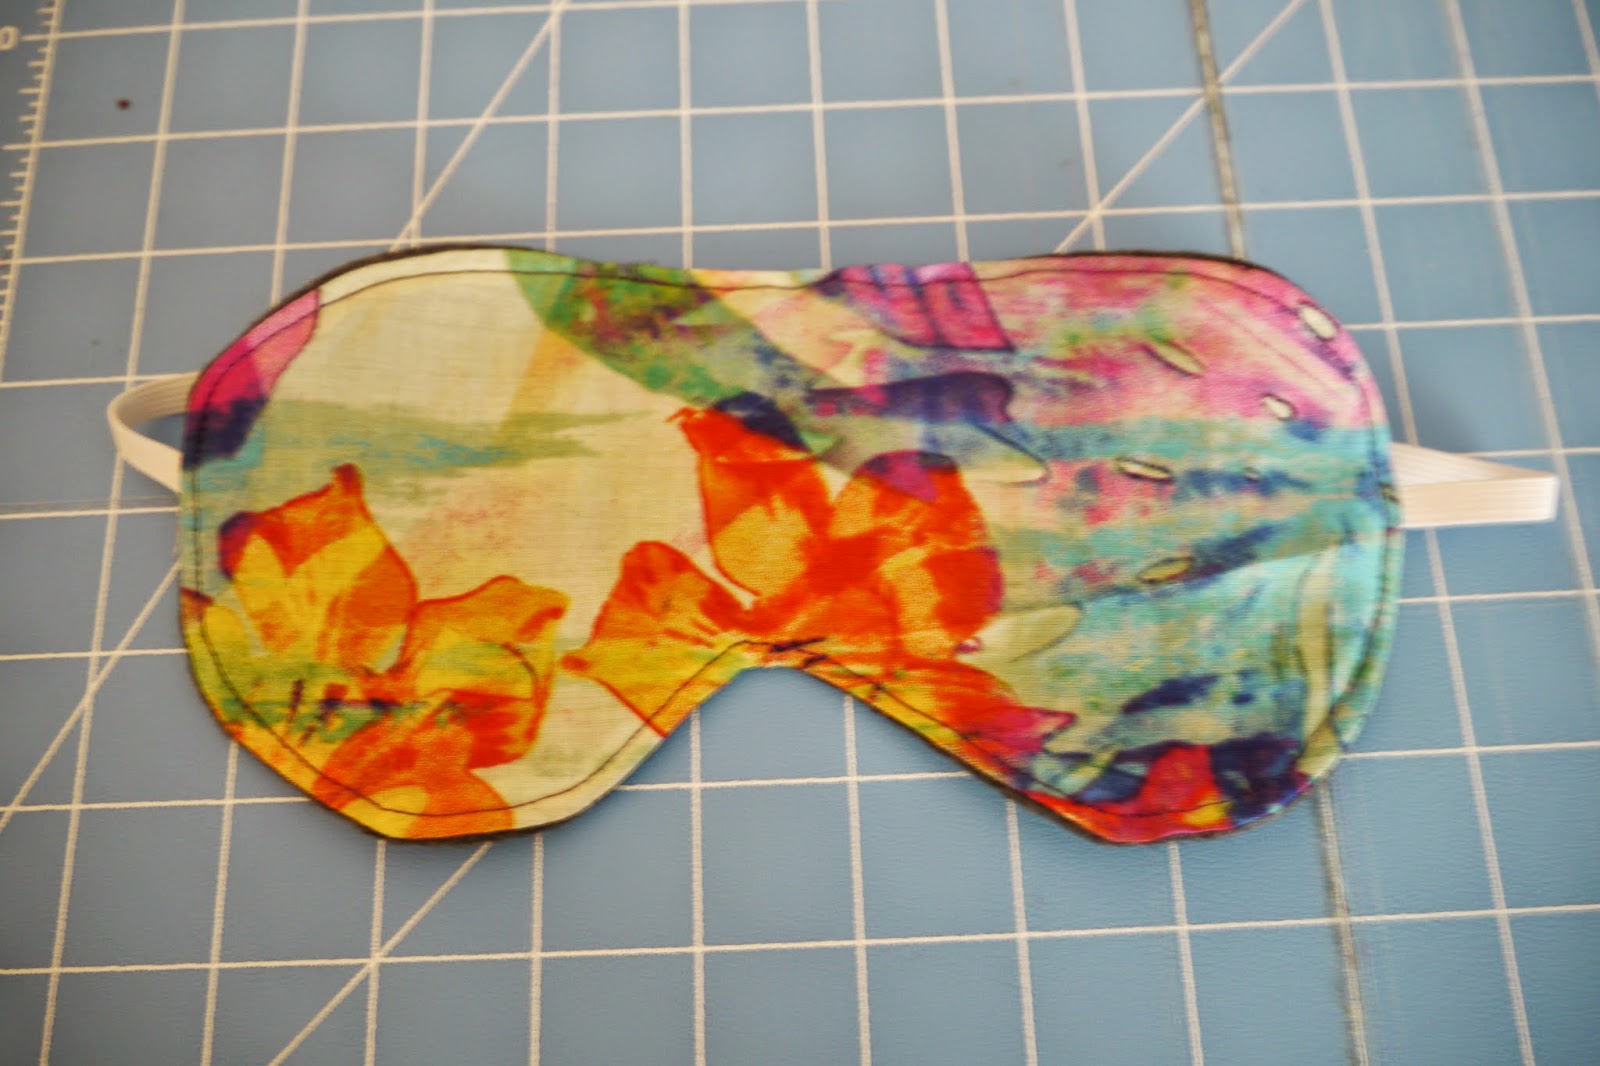 |
10. Sleep better than you've ever slept before.

No comments:
Post a Comment